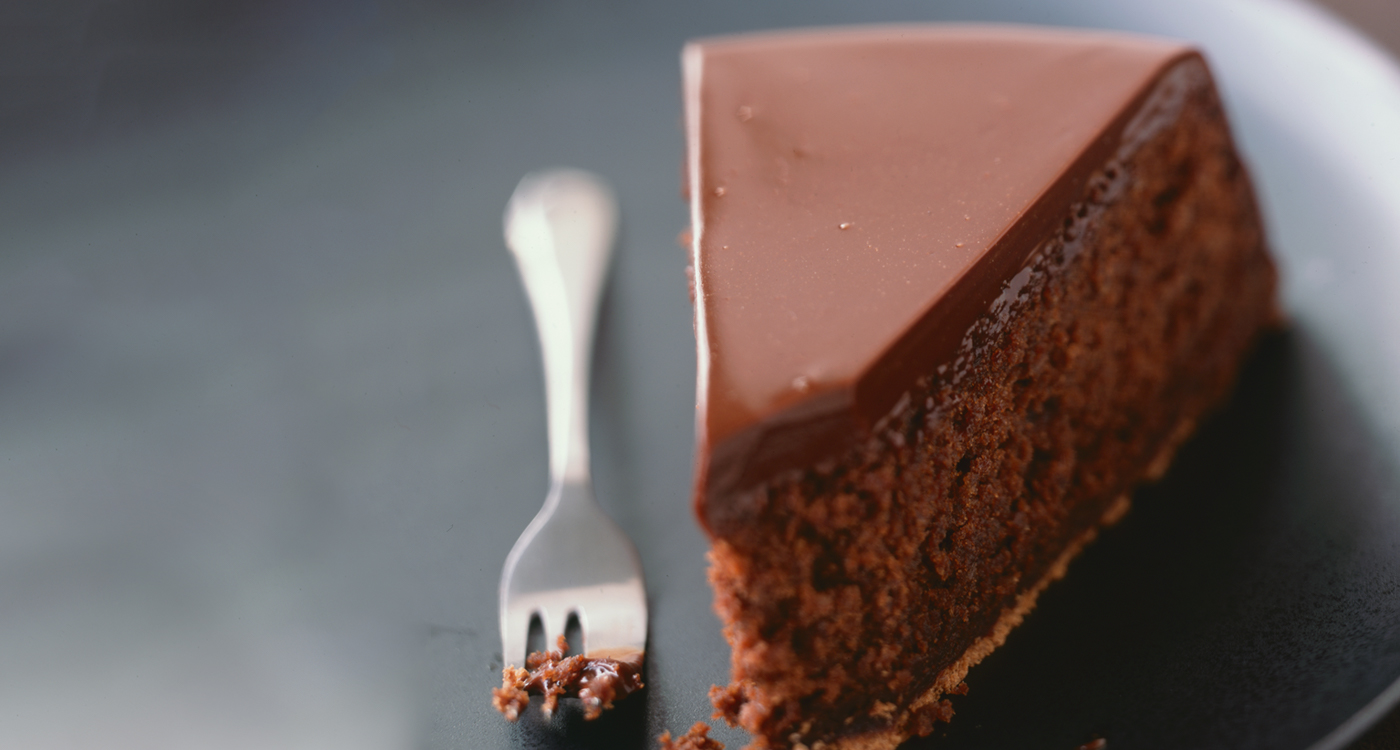
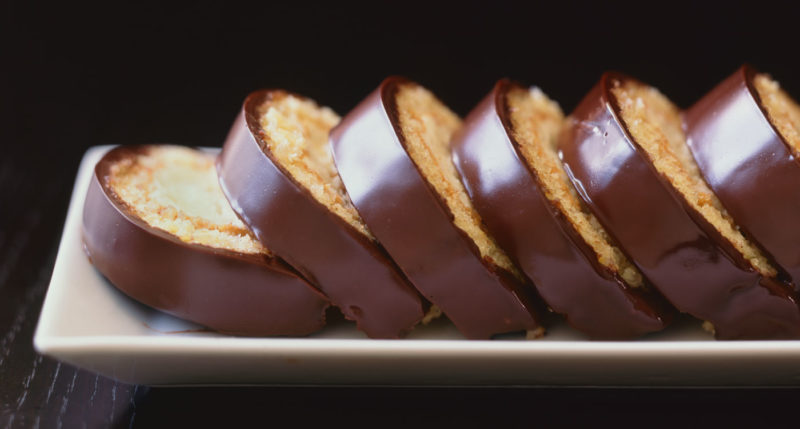
Fran’s Torte L’Orange
As soon as you cut a slice of L’Orange, the room fills with the most remarkable orange essence. This Viennese-style fruit-and-nut torte was always a popular choice at our Madison Park shop, and it remains the most accessible of torte recipes. In fact, we like to recommend it to new bakers since there are no eggs to separate and very little that can go wrong. Unlike other tortes with perfectly smooth texture, L’Orange is pebbly with almonds. With its concentration of fruits and nuts, it can stay moist on a counter for several days––though we doubt it will last that long!
Serves 12 to 16
Ingredients
- 6 ounces semisweet chocolate, finely chopped
- 2 oranges, preferably large navels with dark, rough-textured skin
- 1½ sticks (12 tablespoons) unsalted butter, room temperature
- 1 cup sugar
- 4 large eggs, room temperature
- 1⅔ cups (6⅔ ounces) almond flour
- 1 recipe Chocolate Butter Glaze
Directions
MAKING THE CAKE
- Position a rack in the middle of the oven and preheat to 300°F.
- Butter a 9-inch round cake pan (preferably flared) and line with a parchment circle.
- In a double boiler, begin melting the chocolate over low heat.
- Remove when nearly melted and continue stirring until smooth. Briefly return to the double boiler if it begins to thicken.
- Wash the oranges. Using a fine grater or microplaner, finely grate the zest directly into the bowl of a stand mixer, so that all of the fragrant orange oils are captured.
- Add the butter a sugar to the orange zest, and beat with the paddle attachment on medium-high speed until light in color, 3 to 5 minutes. Halfway through, scrape down the sides of the bowl with a rubber spatula.
- With the mixer on medium-high speed, begin adding the eggs slowly, one at a time.
- Continue beating until well mixed, about 3 minutes total. The beaten mixture will be lighter in color and will have increased in volume.
- Remove the bowl from the mixer. Using a rubber spatula, fold in the almond flour, then fold in the melted chocolate.
- Pour the batter into the prepared baking pan, spreading evenly.
- Bake for 40 to 45 minutes, until puffed and domed in the center with a slight fracture 1 inch from the rim. The top will appear lighter in color than the rest of the cake, and a cake tester inserted into the center will have a few moist crumbs.
- Allow cake to cool in the pan at room temperature for approximately 15 minutes.
- To remove from the pan, run a thin-bladed knife around the edges of the cake and invert onto a cardboard cake circle or metal tart-pan bottom.
- Chill completely. (The torte can be wrapped in plastic once cooled, and placed in the freezer for up to a week prior to assembly.)
FINISHING THE TORTE
- Bring the torte to room temperature, unwrap it, and remove parchment paper. Trim any uneven edges.
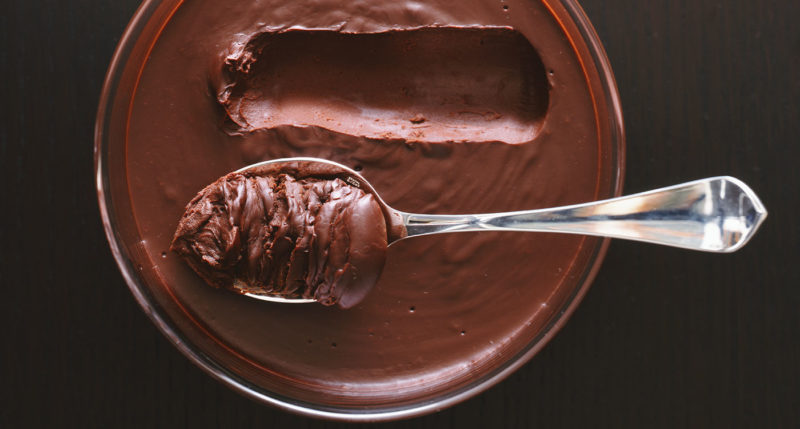
- Have ready the Chocolate Butter Glaze.
- Place the torte (on the cardboard cake circle or tart-pan bottom) on a cooling rack positioned over a rimmed baking sheet.
- Beginning 1½ inches from the edge of the torte, slowly and evenly pour the glaze around the torte layer, making sure that the sides are sufficiently covered. Then pour the remaining glaze onto the center.
- Working quickly, use an offset spatula to evenly spread the glaze over the top, letting the excess run down the sides.
- Let set at room temperature until the glaze is slightly firm, about 5 minutes.
- Once set, slide an offset spatula under the cake circle or tart-pan bottom, rotating the spatula to release any areas where the glaze has stuck to the rack.
- Carefully lift the torte and, supporting the cake’s bottom with your free hand, slide it onto its serving plate.
- The finished torte can be stored at room temperature up to 3 days, with cut edges protected.
You May Like
 baking bars
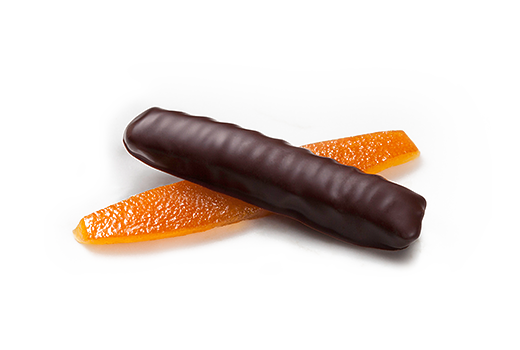 orange confit
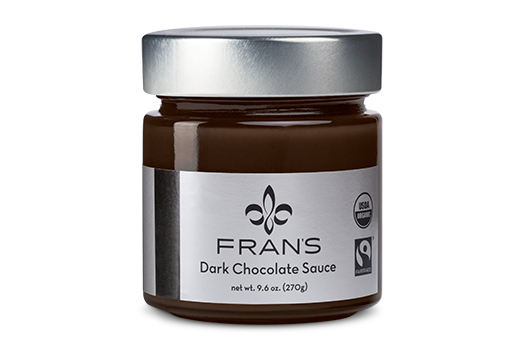 dark chocolate sauce
 dark caramel hearts
Related Articles
Fran’s Marguerite Torte
The Marguerite was named for Fran’s mother, who would show up to …
Fran’s Tropicale Coconut Roll
Fran made an important discovery back at her original store. She found …
Fran’s Dark-Chocolate Truffle Filling
When it comes to chocolate, you can’t have too much of a …